Table of Contents
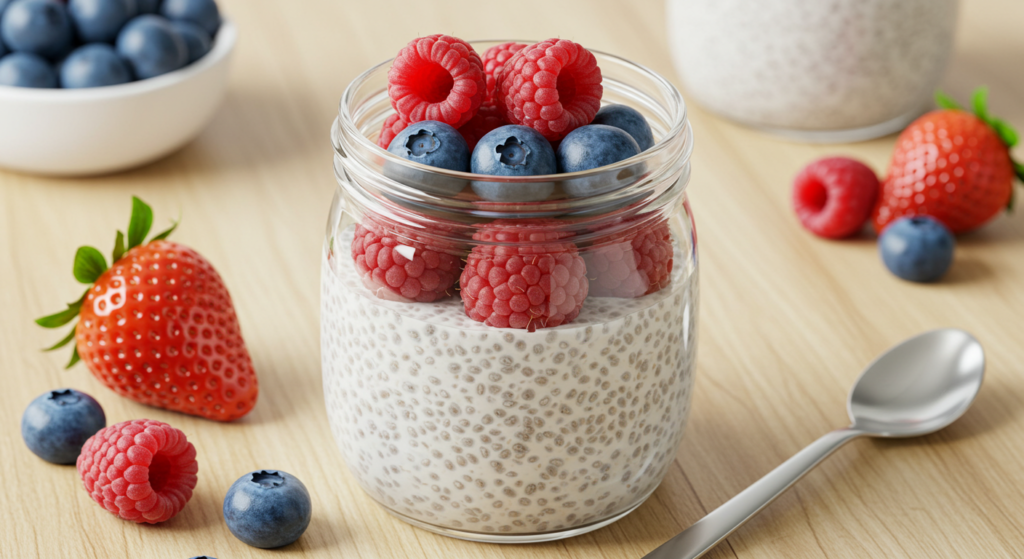
There’s something magical about waking up to breakfast that’s already prepared and waiting for you in the refrigerator. That’s exactly what you get with this creamy, nutrient-packed chia pudding recipe. If you’ve never experienced the simple joy of spooning into a jar of perfectly set chia seeds transformed into a luscious pudding overnight, you’re in for a delightful surprise!
Did you know that despite their tiny size, chia seeds pack more omega-3 fatty acids than salmon and more calcium than milk per ounce? These ancient seeds, once valued by Aztec warriors for stamina, are now the secret weapon of busy health-conscious individuals everywhere.
What makes this chia pudding recipe special is its incredible versatility and simplicity. With just three easy steps and five minutes of active preparation time, you can create a breakfast that’s not only nutritious but also infinitely customizable to suit your taste preferences and dietary needs. Whether you’re gluten-free, dairy-free, or simply looking for a make-ahead breakfast option that the whole family will love, this recipe delivers on all fronts.
If you enjoyed our popular Coconut Flour Muffins recipe, you’ll find this chia pudding offers the same convenience but with an even simpler preparation process. The hardest part? Waiting for it to set in the refrigerator! So let’s dive into this game-changing breakfast option that will transform your morning routine and delight your taste buds.
What is Chia Pudding?
Ever wondered what happens when you combine those tiny black seeds with liquid and a touch of sweetness? Magic, that’s what! Chia pudding is essentially what happens when these unassuming seeds—yes, the same ones from those ch-ch-ch-chia pet commercials—absorb liquid and transform into a delightful pudding-like consistency.
But why call it “pudding” when there’s no cooking involved? Well, they say the proof is in the pudding, and in this case, the proof is in the gel-like matrix that forms when chia seeds soak up liquid. It’s nature’s own thickening agent at work! Some folks call it “overnight chia” or “chia breakfast,” but I prefer “chia pudding” because, let’s face it, the way to a person’s heart is through their stomach, and who doesn’t love pudding?
Ready to transform these humble seeds into a breakfast that looks impressive but requires minimal effort? Let’s get started with this life-changing chia pudding recipe!
Why You’ll Love This Chia Pudding Recipe
This chia pudding recipe is about to become your new breakfast bestie, and for good reason! The star quality of this simple dish is its incredible texture—creamy and satisfying with a delightful pop from each tiny seed. Unlike store-bought breakfast options that can cost upwards of $5 for a single serving, this homemade version breaks down to mere pennies per portion, saving you significant money over time while providing better nutrition.
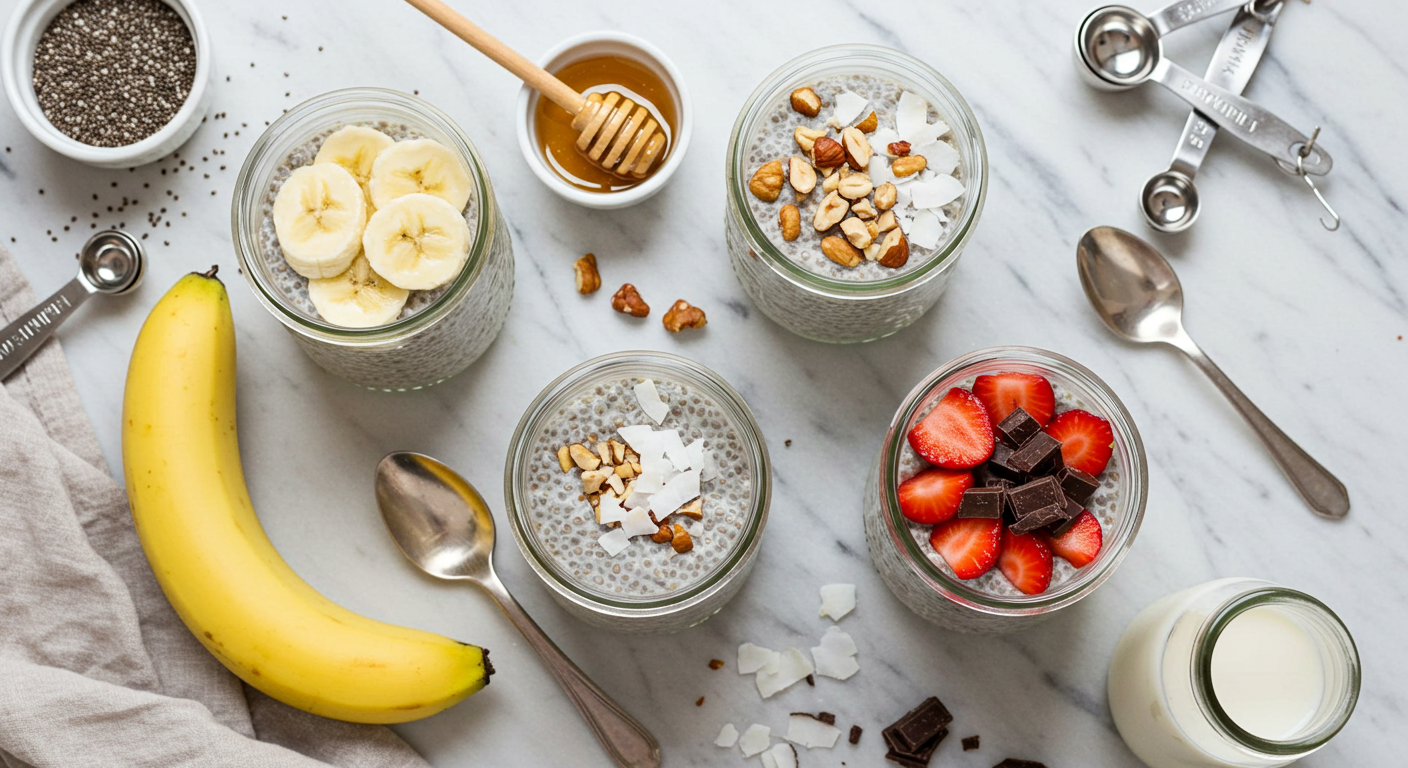
What truly sets this chia pudding recipe apart are the endless flavor possibilities. From fresh berries that burst with juicy sweetness to crunchy nuts that add a satisfying contrast, or even a drizzle of golden honey that catches the morning light—your taste buds will never get bored! The combination of creamy pudding with your choice of toppings creates a symphony of textures that make each spoonful an adventure.
If you’ve tried our Gluten-Free Veggie Burgers, you’ll appreciate how this chia pudding offers the same health benefits but in a completely different format—proving healthy eating never has to be monotonous. Why not treat yourself to this nourishing breakfast tomorrow morning? Your future self will thank you when you open the refrigerator to find breakfast already prepared and waiting!
How to Make Chia Pudding:
Quick Overview
Creating the perfect chia pudding is surprisingly simple, making it ideal for busy mornings and meal prep enthusiasts alike. What makes this recipe truly stand out is the perfect balance of creaminess and texture, with each spoonful delivering a satisfying combination of silky pudding and softened chia seeds. The subtle sweetness pairs beautifully with whatever toppings you choose to add, making each serving feel like a customized treat. Best of all, the active preparation time is just 5 minutes, with the real magic happening while you sleep as the pudding sets in the refrigerator for 2-4 hours or overnight.
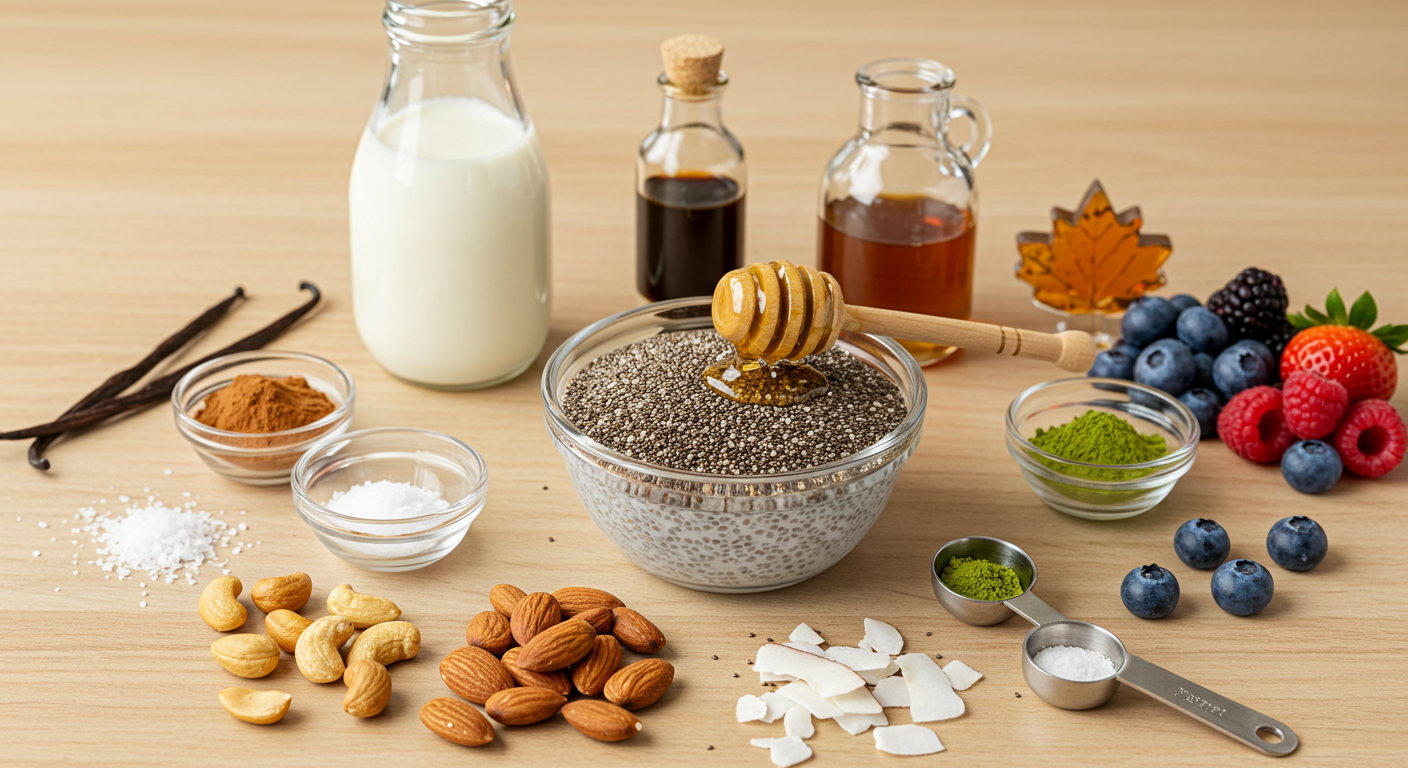
Key Ingredients for Chia Pudding:
- 1/4 cup chia seeds
- 1 cup milk (dairy or plant-based)
- 1-2 tablespoons sweetener (honey, maple syrup, or other preferred sweetener)
- 1/2 teaspoon vanilla extract (optional)
- Pinch of salt (enhances flavor)
- Optional add-ins: cinnamon, cocoa powder, matcha powder, etc.
- Toppings: fresh fruits, nuts, seeds, coconut flakes, granola, etc.
Step-by-Step Instructions:
Step 1: Mix the Base Ingredients
In a medium bowl or jar, combine the chia seeds, milk, sweetener of choice, vanilla extract (if using), and a small pinch of salt. The salt may seem unusual, but it actually enhances the sweetness and overall flavor profile of your pudding. If you’re using a jar with a tight-fitting lid, you can simply close it and shake vigorously for about 30 seconds until all ingredients are well combined. If using a bowl, whisk thoroughly to ensure there are no clumps of chia seeds sticking together.
Step 2: Let It Rest, Then Stir Again
This crucial step is often overlooked but makes all the difference in achieving the perfect texture. After the initial mixing, let the pudding sit for about 5-10 minutes. During this time, the chia seeds will begin to absorb some of the liquid and might start clumping together. Return to your mixture and stir or shake again vigorously to break up any clumps. This prevents those unpleasant pockets of dry seeds in your finished pudding and ensures a uniform texture throughout.
Step 3: Refrigerate and Wait
Once you’ve given it that second mix, place your chia pudding in the refrigerator to set properly. For the best consistency, allow it to chill for at least 2 hours, though overnight (8-12 hours) yields the most perfect results. The pudding is ready when it has a thick, gel-like consistency throughout, with no excess liquid at the bottom. Before serving, give it one more stir, add your favorite toppings, and enjoy!
What to Serve Chia Pudding With:
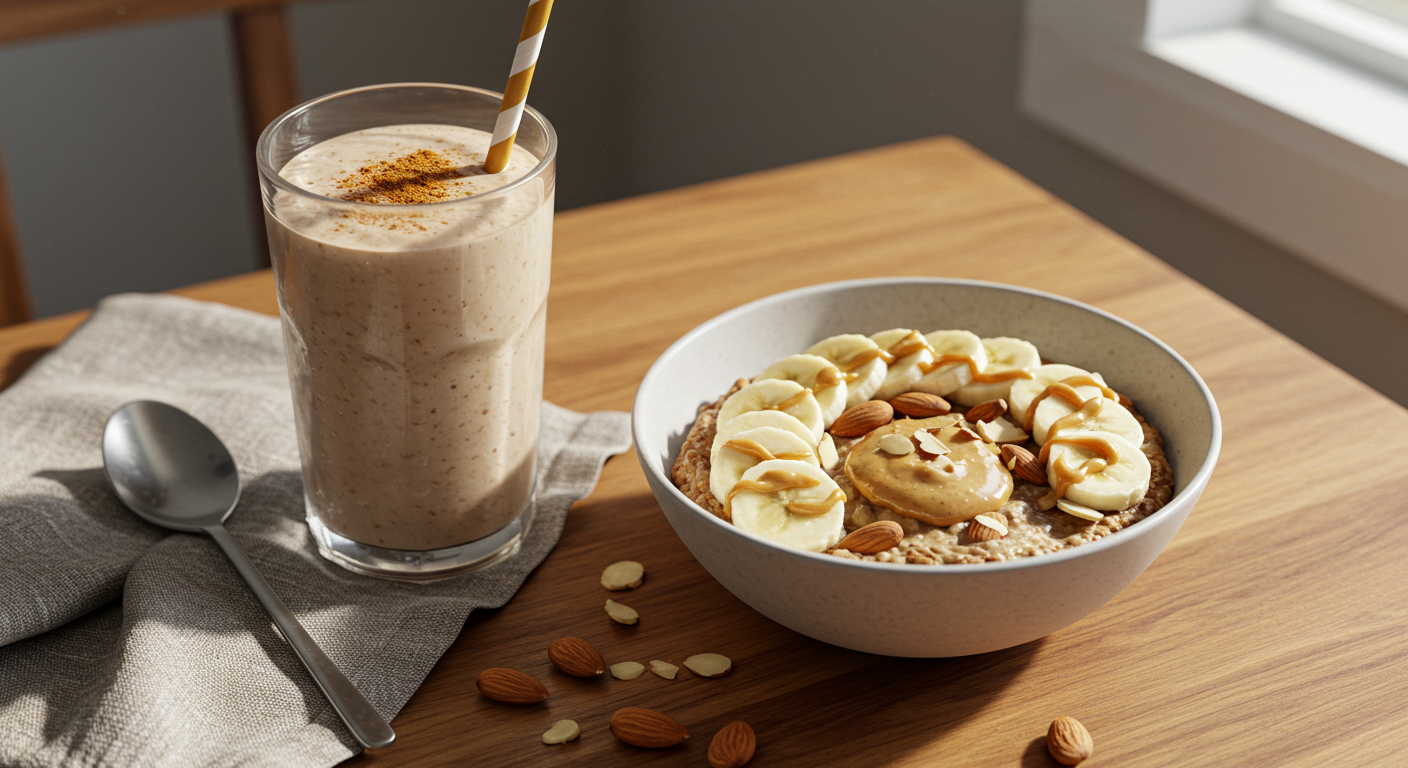
Elevate your chia pudding experience by pairing it with complementary foods and beverages that enhance its flavor and nutritional profile. For a complete breakfast, consider topping your pudding with a variety of fresh fruits like berries, sliced banana, or diced mango to add natural sweetness and vibrant color. A sprinkle of granola or toasted nuts provides a satisfying crunch that contrasts beautifully with the creamy pudding.
For beverage pairings, a freshly brewed cup of coffee highlights the subtle sweetness of the pudding, while a green smoothie creates a nutritionally balanced meal. In warmer months, iced matcha or cold brew coffee makes for a refreshing accompaniment.
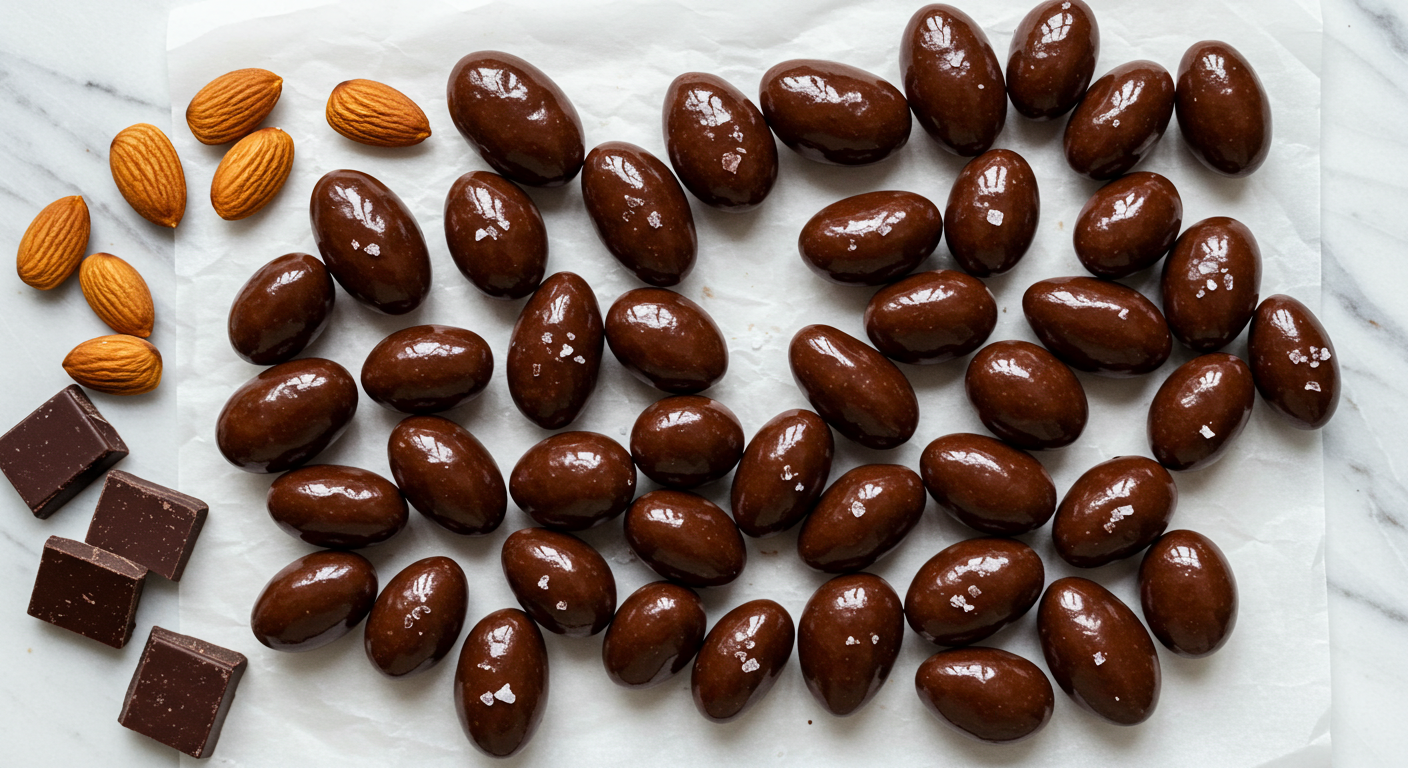
If serving chia pudding as a healthier dessert option, try layering it in parfait glasses with whipped coconut cream and a drizzle of dark chocolate for an elegant presentation. The versatility of chia pudding means it can seamlessly transition from a practical breakfast to an impressive dessert with just a few thoughtful additions.

If you’re looking for a beautiful serving piece for your chia pudding creations, check out this Legendary resin river table that makes for stunning breakfast presentations when entertaining guests.
Top Tips for Perfecting Chia Pudding:
Creating truly exceptional chia pudding requires attention to a few key details that can significantly improve your results. First, the ratio of liquid to chia seeds is crucial—using too much liquid results in a runny consistency, while too little creates an overly thick, difficult-to-eat pudding. The perfect ratio is typically 4:1 (liquid to chia seeds), but you can adjust based on your texture preference.
For those new to chia pudding, here are some invaluable tips:
- Prevent clumping: Always stir twice—once during initial mixing and again after 5-10 minutes when the seeds have begun to absorb liquid. This double-stir technique prevents the frustrating clumps that can form when chia seeds gel together.
- Choose the right milk: The type of milk you use dramatically affects the flavor and creaminess. Coconut milk creates an indulgently rich pudding, while almond milk offers a lighter option. For those avoiding plant-based milks, whole dairy milk produces excellent results with added protein benefits.
- Sweetener substitutions: If reducing sugar intake, consider using mashed ripe banana, unsweetened applesauce, or a few drops of liquid stevia instead of traditional sweeteners. These alternatives provide natural sweetness without the added sugars.
- Texture variations: For an ultra-smooth pudding, blend the finished pudding in a high-speed blender. This transforms the texture completely for those who enjoy pudding without the characteristic pop of whole chia seeds.
- Enhance flavor depth: A pinch of salt enhances sweetness, while a quarter teaspoon of cinnamon adds warmth without overpowering the delicate flavors. For chocolate lovers, 1-2 teaspoons of high-quality cocoa powder creates a decadent chocolate pudding.
Avoiding common mistakes will ensure pudding success every time. Never add chia seeds directly to hot liquid as this can destroy their nutritional benefits and create an unpleasant texture. Additionally, always use fresh chia seeds—old or rancid seeds can impart a bitter flavor to your pudding.
Storing and Reheating Tips:
Proper storage is key to maintaining the freshness and quality of your chia pudding. When stored correctly in airtight containers in the refrigerator, chia pudding remains fresh and delicious for up to 5 days, making it perfect for weekly meal prep. For optimal freshness, use glass containers with tight-fitting lids rather than plastic, as glass won’t absorb odors from the refrigerator.
If you’ve made a large batch, consider portion-sizing your pudding into individual containers before refrigerating. This makes grabbing breakfast on busy mornings effortless and prevents repeatedly opening and closing a larger container, which can introduce bacteria and shorten shelf life.
While chia pudding is typically enjoyed cold, some prefer it slightly warmed, especially in colder months. To gently warm your pudding, transfer a portion to a microwave-safe bowl and heat in 15-second intervals, stirring between each interval until just barely warm. Be careful not to overheat, as excessive heat can break down the gel structure and affect the pudding’s consistency.
For longer-term storage, chia pudding can be frozen for up to 3 months. Freeze individual portions in freezer-safe containers, leaving about half an inch of space at the top for expansion. To thaw, transfer a portion to the refrigerator the night before you plan to eat it. Once thawed, the texture might be slightly different, so give it a good stir before consuming or blend it for a smoother consistency.
Keep in mind that while the basic pudding stores well, some toppings are best added fresh just before serving. Fruits like bananas and apples can brown, and crunchy toppings like granola will soften during storage, so consider keeping these additions separate until ready to enjoy.
Conclusion: Enjoying Your Homemade Chia Pudding
Congratulations! You’ve mastered the art of making perfect chia pudding in just three simple steps. This versatile, nutrient-dense breakfast option proves that healthy eating doesn’t have to be complicated or time-consuming. With minimal effort and basic ingredients, you’ve created a customizable meal that can adapt to your changing preferences and seasonal availability of fresh toppings.
The beauty of this chia pudding recipe lies in its simplicity and flexibility. Whether you prefer it fruity and sweet for breakfast, rich and chocolatey for dessert, or packed with superfoods for a post-workout recovery meal, this basic recipe serves as the perfect foundation for endless variations.
As you incorporate this recipe into your regular meal rotation, don’t be afraid to experiment with different flavor combinations and presentation styles. From layered parfaits to smoothie bowl bases, chia pudding’s versatility knows no bounds. Your morning routine just got a whole lot easier—and healthier—with this make-ahead miracle that takes just minutes to prepare but provides hours of sustained energy.
Ready to explore more gluten-free recipes that combine nutrition with delicious flavor? Check out our Banza Pasta Nutrition article to discover why this chickpea pasta is healthier than regular options. Your journey to simple, nutritious eating is just beginning!
FAQ
Can I use any type of milk for chia pudding?
Yes! Chia pudding works well with any type of milk. Dairy milk creates a classic creamy pudding, while plant-based options like almond, coconut, or oat milk each bring their unique flavors. Coconut milk makes an especially rich and creamy pudding, perfect for dessert variations.
How long does chia pudding need to set?
Chia pudding needs a minimum of 2 hours in the refrigerator to set properly, but overnight (8-12 hours) yields the best results. If you’re in a hurry, you can speed up the process by using warm milk and stirring more frequently during the first 30 minutes.
Can I make chia pudding in advance for the whole week?
Absolutely! Chia pudding is perfect for meal prep and stays fresh in the refrigerator for up to 5 days when stored in airtight containers. Prepare a large batch on Sunday, portion it into individual containers, and enjoy hassle-free breakfasts all week long.
Why is my chia pudding too runny or too thick?
The perfect consistency depends on the ratio of liquid to chia seeds. The standard ratio is 4:1 (liquid to seeds), but you can adjust based on your preference. If your pudding is too runny, add more chia seeds, stir well, and allow additional time to set. If it’s too thick, simply add a splash more milk and stir until you reach your desired consistency.
Are there ways to add more protein to chia pudding?
Yes! Boost the protein content by stirring in Greek yogurt, a scoop of your favorite protein powder, or a tablespoon of nut butter. You can also top your pudding with a sprinkle of hemp seeds or chopped nuts for added protein and a pleasant crunch.
Can chia pudding be frozen?
Yes, chia pudding freezes well for up to 3 months. Freeze individual portions in airtight containers, leaving some space for expansion. Thaw overnight in the refrigerator before enjoying. The texture might change slightly after freezing, so give it a good stir or blend it for smoothness if needed.