Table of Contents
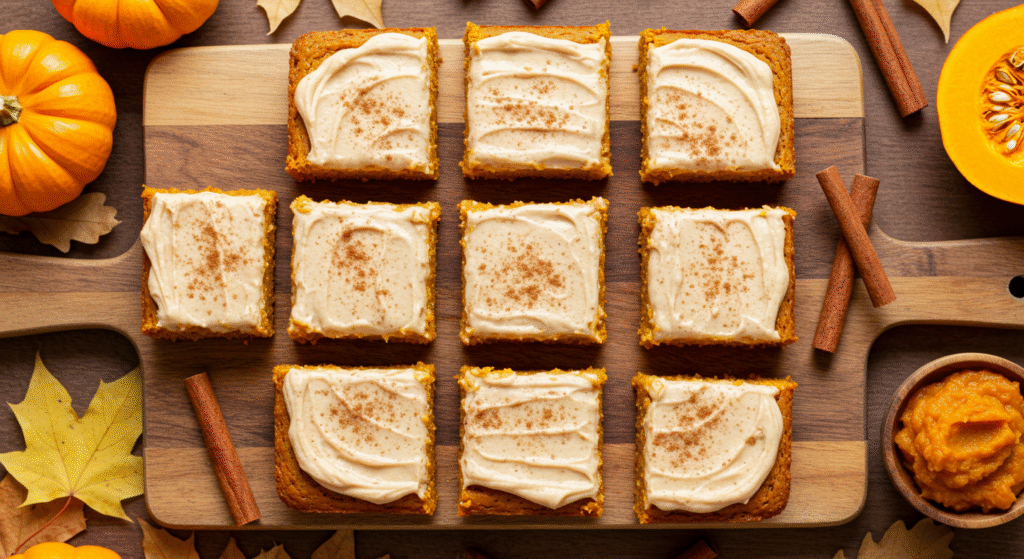
Picture this: the autumn air is crisp, leaves are changing colors, and your kitchen is filled with the warm, comforting aroma of pumpkin and spices. There’s something magical about fall baking that brings families together, and these healthy gluten-free pumpkin bars are about to become your new seasonal obsession. These aren’t just any ordinary pumpkin bars – they’re incredibly moist, perfectly spiced, and so deliciously soft that nobody will ever guess they’re gluten-free.
Here’s a fun fact: pumpkin has been used in desserts since the early American settlers, but it wasn’t until the 1920s that pumpkin bars became popular at church potlucks and family gatherings. What makes these bars truly special is their foolproof recipe that delivers bakery-quality results every single time. Unlike complicated gluten-free recipes that require a dozen ingredients, this simple approach uses just five easy steps to create the perfect texture and flavor.
If you’ve tried our Best Mushroom Wild Rice Recipe, you already know we’re passionate about creating gluten-free dishes that don’t compromise on taste. These healthy gluten-free pumpkin bars are quick to prepare, family-friendly, and perfect for both beginners and experienced bakers. Get ready to fall in love with the most irresistible autumn treat that will have everyone asking for the recipe!
What Are Healthy Gluten-Free Pumpkin Bars?
Ever wondered why we call these delightful treats “bars” instead of squares or slices? Well, it’s quite simple – they’re baked in a rectangular pan and cut into neat, portable bar shapes that are perfect for sharing! But here’s the real question: what makes a pumpkin bar truly “healthy” and gluten-free?
The answer lies in the magical combination of nutrient-rich pumpkin puree, wholesome gluten-free flours, and natural sweeteners that create a dessert you can actually feel good about eating. These bars get their incredible moisture from real pumpkin, which is packed with fiber, vitamin A, and antioxidants. The gluten-free aspect means anyone with celiac disease or gluten sensitivity can indulge without worry.
There’s an old saying that “the way to a man’s heart is through his stomach,” and these bars prove that healthy treats can be just as satisfying as their traditional counterparts. They’re called “bars” because they’re designed to be grabbed and enjoyed on the go – perfect for lunch boxes, afternoon snacks, or whenever you need a quick energy boost. Ready to discover why these healthy gluten-free pumpkin bars will become your new favorite fall tradition?
Why You’ll Love This Healthy Gluten-Free Pumpkin Bars Recipe
Incredibly Moist and Flavorful: The star of these healthy gluten-free pumpkin bars is the perfect balance of pumpkin puree and warm spices that create an irresistibly soft texture. Each bite melts in your mouth with rich autumn flavors of cinnamon, nutmeg, and vanilla. The natural sweetness from pumpkin means you need less added sugar, making these bars a healthier alternative to traditional desserts.
Budget-Friendly Home Baking: Making these bars at home costs a fraction of what you’d pay for gluten-free desserts at specialty bakeries. With simple pantry ingredients and one bowl mixing, you can create dozens of bars for less than $10. Plus, you control every ingredient, ensuring no hidden additives or preservatives – just pure, wholesome goodness that your family will love.
Versatile Toppings and Customization: These bars are delicious on their own, but the real magic happens when you add toppings! Cream cheese frosting creates a tangy contrast to the sweet pumpkin, while a simple dusting of powdered sugar keeps things light. You can also add chopped pecans, chocolate chips, or even a drizzle of maple syrup for extra indulgence.
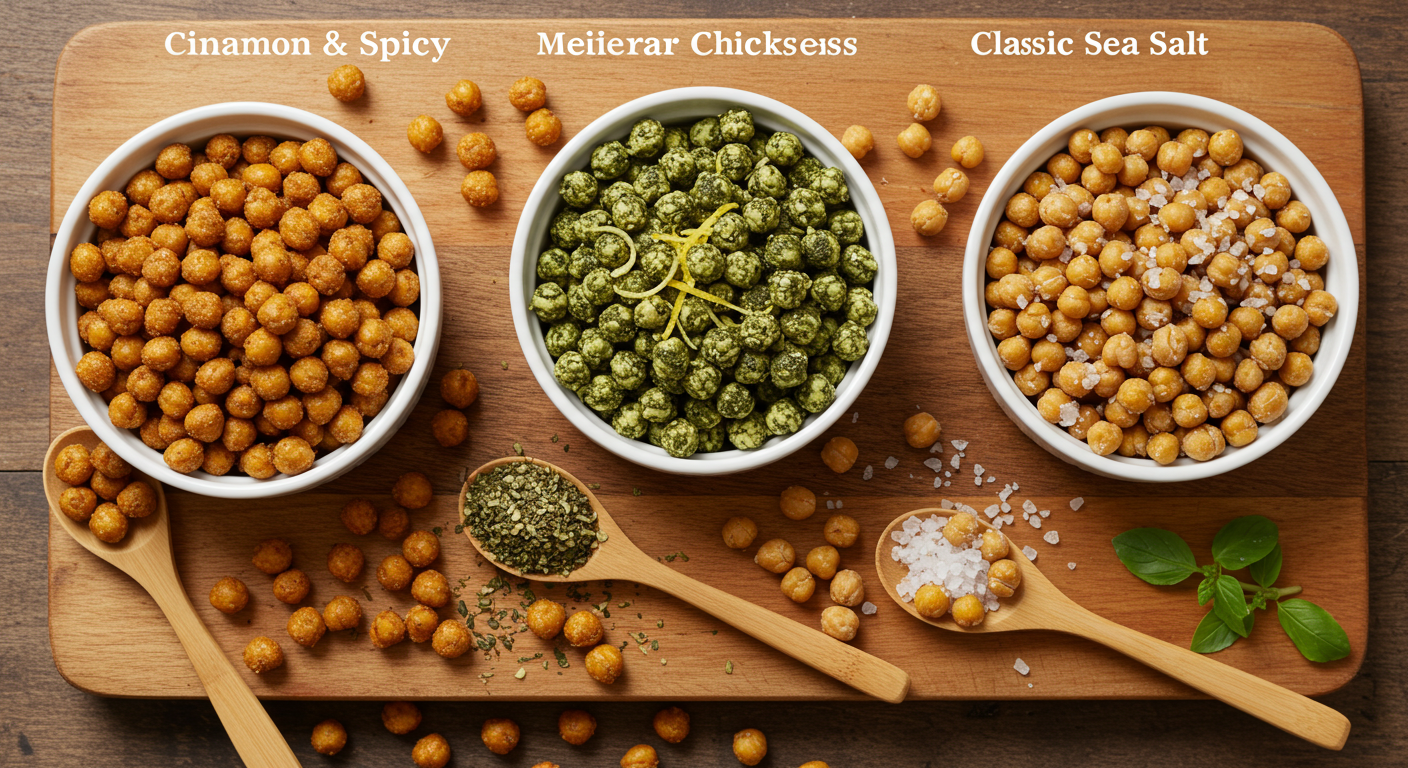
Unlike our Roasted Chickpeas Snack, which focuses on savory flavors, these bars satisfy your sweet tooth while still providing nutritional benefits. The combination of protein from eggs and fiber from pumpkin makes them more satisfying than empty-calorie desserts. Ready to transform your kitchen into a fall bakery and create these amazing healthy gluten-free pumpkin bars?
How to Make Healthy Gluten-Free Pumpkin Bars
Quick Overview
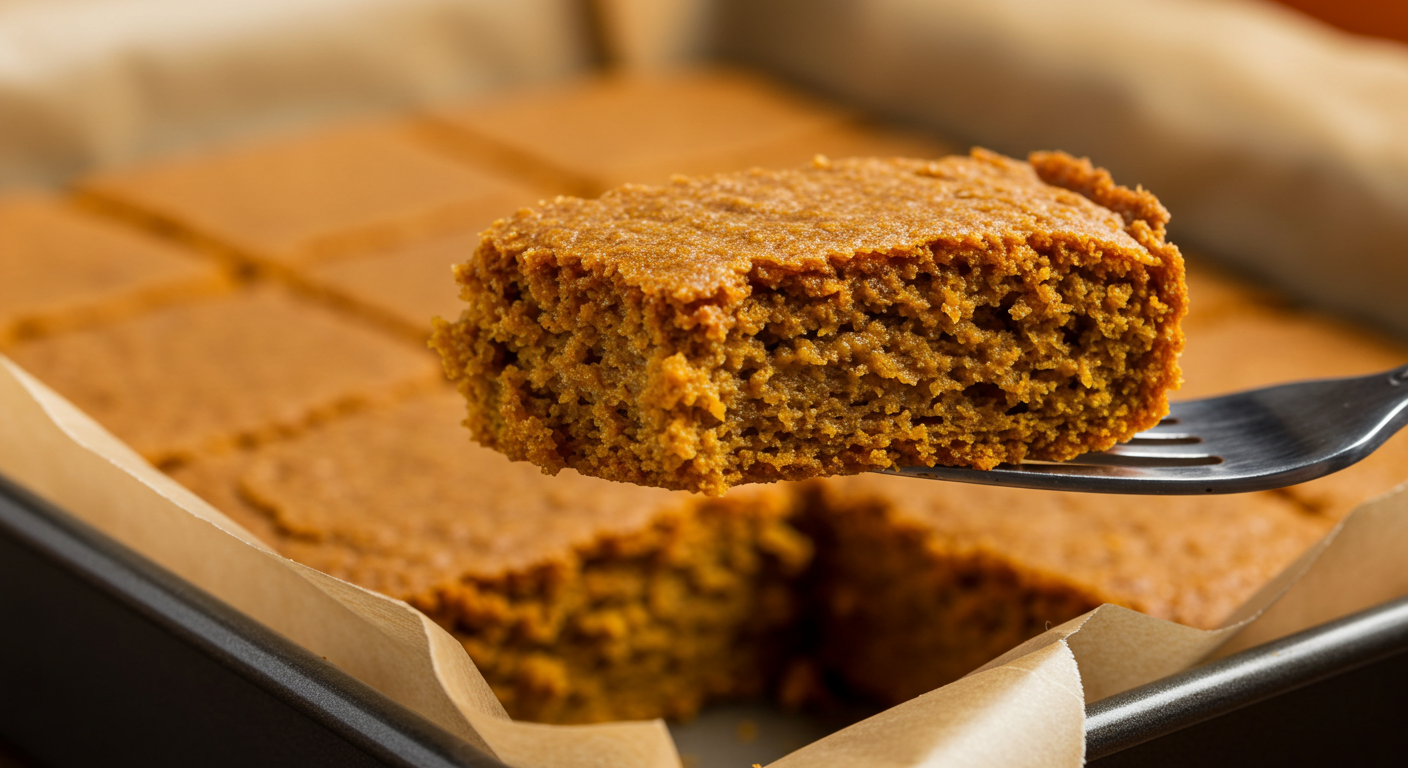
These healthy gluten-free pumpkin bars are incredibly easy to make and deliver amazing results every time. What makes them special is their perfectly soft texture, rich pumpkin flavor, and the fact that they stay moist for days. The secret lies in the balanced ratio of wet to dry ingredients and the simple 5-step process that eliminates any guesswork. From mixing to baking, you’ll have these bars ready in just 45 minutes – 15 minutes prep time and 30 minutes baking time.
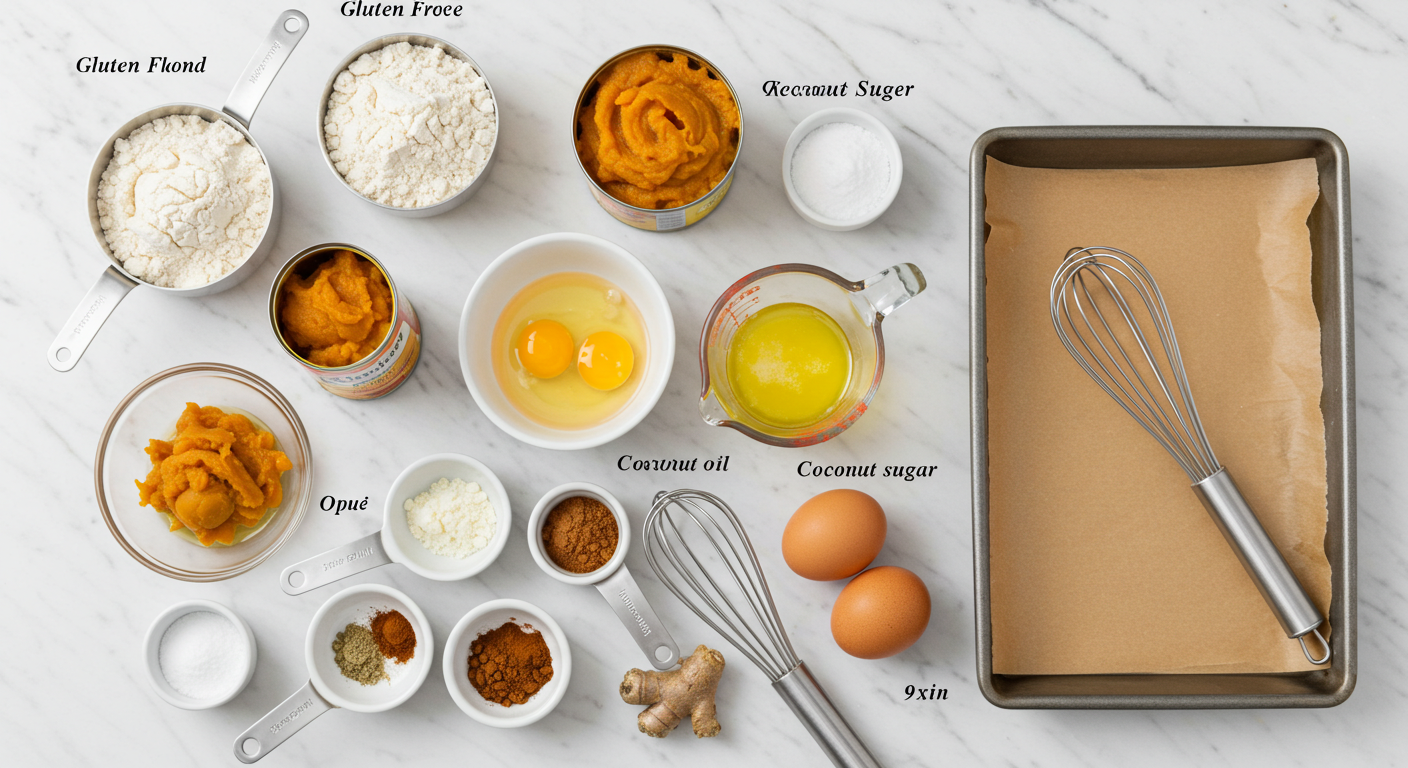
Key Ingredients for Healthy Gluten-Free Pumpkin Bars
For the Bars:
- 2 cups gluten-free flour blend (almond flour and rice flour work best)
- 1 cup pumpkin puree (canned or fresh)
- 3/4 cup coconut sugar or brown sugar
- 2 large eggs
- 1/3 cup coconut oil, melted
- 1 teaspoon vanilla extract
- 1 teaspoon cinnamon
- 1/2 teaspoon nutmeg
- 1/2 teaspoon ginger
- 1/2 teaspoon baking soda
- 1/2 teaspoon salt
- 1/4 teaspoon xanthan gum (if not in flour blend)
For Optional Cream Cheese Frosting:
- 8 oz cream cheese, softened
- 1/4 cup powdered sugar
- 1 teaspoon vanilla extract
Pro tip: For the best results, use a 9L Multi functional Home Smart Air Fryer if you prefer a slightly firmer texture, or stick with traditional oven baking for ultra-soft bars.
Step-by-Step Instructions
Step 1: Prepare Your Pan and Oven Preheat your oven to 350°F (175°C). Line a 9×9 inch baking pan with parchment paper, leaving some overhang for easy removal. Lightly grease the parchment with cooking spray or coconut oil to prevent sticking.
Step 2: Mix the Dry Ingredients In a medium bowl, whisk together the gluten-free flour blend, cinnamon, nutmeg, ginger, baking soda, salt, and xanthan gum (if using). Make sure there are no lumps and all spices are evenly distributed throughout the flour mixture.
Step 3: Combine Wet Ingredients In a large bowl, whisk together the pumpkin puree, coconut sugar, eggs, melted coconut oil, and vanilla extract until smooth and well combined. The mixture should be creamy with no streaks of egg visible.
Step 4: Create the Batter Add the dry ingredients to the wet ingredients and gently fold together using a spatula. Mix just until combined – overmixing can make the bars tough. The batter should be thick but spreadable.
Step 5: Bake to Perfection Pour the batter into your prepared pan and spread evenly. Bake for 28-32 minutes, or until a toothpick inserted in the center comes out with just a few moist crumbs. The top should be set and lightly golden. Allow to cool completely before cutting into bars.
What to Serve Healthy Gluten-Free Pumpkin Bars With
These healthy gluten-free pumpkin bars pair beautifully with warm beverages and complementary flavors. Serve them alongside a steaming mug of spiced chai tea, coffee, or apple cider for the ultimate autumn experience. The warm spices in the bars complement the cozy drinks perfectly.
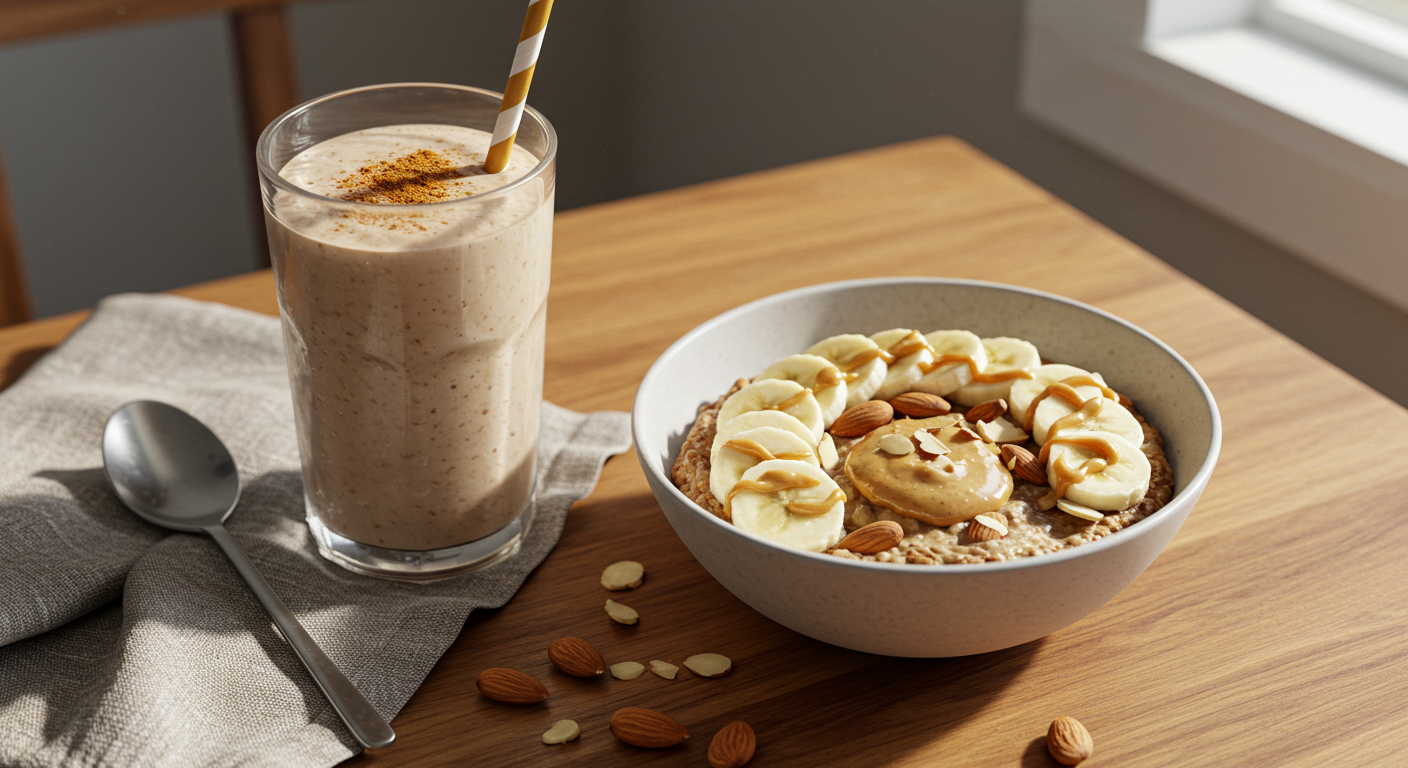
For a more substantial treat, try serving them with a dollop of vanilla Greek yogurt or a scoop of cinnamon ice cream. The creamy texture creates a delightful contrast to the soft bars. You can also pair them with our Almond Butter Banana Smoothie Recipe for a protein-packed breakfast or snack.
For entertaining, arrange the bars on a platter with fresh berries, chopped nuts, and a selection of herbal teas. They’re also perfect for potluck dinners, bake sales, or as a thoughtful homemade gift during the holiday season.
Top Tips for Perfecting Healthy Gluten-Free Pumpkin Bars
Choose the Right Flour Blend: Not all gluten-free flours are created equal. A combination of almond flour and rice flour creates the best texture, while coconut flour can make bars too dense. If using a pre-made blend, ensure it contains xanthan gum for proper binding.
Don’t Overmix: Gluten-free batters are more delicate than regular ones. Mix just until ingredients are combined to avoid tough, rubbery bars. The batter should look slightly lumpy – this is normal and actually desirable.
Check for Doneness Properly: Gluten-free baked goods can look done on the outside while still being raw in the center. Use a toothpick test, but look for moist crumbs rather than completely clean – this ensures they won’t be dry.
Ingredient Substitutions: Replace eggs with flax eggs (1 tbsp ground flaxseed + 3 tbsp water per egg) for vegan version. Coconut oil can be substituted with butter or vegetable oil. For sugar alternatives, try maple syrup but reduce liquid ingredients slightly.
Temperature Matters: Room temperature ingredients mix more easily and create better texture. Take eggs and any refrigerated ingredients out 30 minutes before baking for best results.
Storing and Reheating Tips
Room Temperature Storage: Store your healthy gluten-free pumpkin bars in an airtight container at room temperature for up to 4 days. Place parchment paper between layers to prevent sticking, especially if they’re frosted.
Refrigerator Storage: For longer storage or if you’ve added cream cheese frosting, refrigerate the bars for up to 1 week. Let them come to room temperature for 15-20 minutes before serving for the best texture and flavor.
Freezing Instructions: These bars freeze exceptionally well for up to 3 months. Wrap individual bars in plastic wrap, then place in a freezer-safe container. For best results, freeze unfrosted bars and add frosting after thawing.
Reheating Tips: To restore that fresh-baked warmth, microwave individual bars for 10-15 seconds or warm them in a 300°F oven for 5-7 minutes. Avoid overheating as this can make them dry. Frozen bars should be thawed in the refrigerator overnight before reheating.
Pro Storage Tip: If you live in a humid climate, add a slice of bread to the container – it will absorb excess moisture and keep your bars perfectly soft without becoming soggy.
Frequently Asked Questions
Can I use fresh pumpkin instead of canned pumpkin puree? Yes, you can use fresh pumpkin! Roast a small pumpkin, scoop out the flesh, and puree it until smooth. You’ll need about 1 cup of puree. Fresh pumpkin may have more moisture, so you might need to add an extra tablespoon of flour to balance the texture.
What’s the best gluten-free flour blend for these bars? A combination of almond flour and rice flour works best, but you can also use store-bought blends like Bob’s Red Mill or King Arthur Gluten-Free Flour. Make sure your blend contains xanthan gum, or add 1/4 teaspoon separately for proper binding.
Can I make these bars dairy-free? Absolutely! These healthy gluten-free pumpkin bars are naturally dairy-free when you use coconut oil instead of butter. For the frosting, substitute the cream cheese with dairy-free cream cheese or skip it entirely.
How do I know when the bars are perfectly done? Insert a toothpick in the center – it should come out with just a few moist crumbs, not wet batter. The top should be set and lightly golden. Overbaking will make them dry, so start checking at 28 minutes.
Can I reduce the sugar in this recipe? Yes, you can reduce the coconut sugar by up to 1/4 cup since pumpkin adds natural sweetness. You can also substitute with maple syrup, but reduce other liquid ingredients by 2 tablespoons to maintain proper consistency.
Why are my bars dense instead of soft? Dense bars usually result from overmixing the batter or using too much flour. Mix just until ingredients are combined, and make sure to measure flour correctly using the spoon-and-level method rather than scooping directly from the bag.
Can I add chocolate chips or nuts? Definitely! Fold in 1/2 cup of mini chocolate chips, chopped pecans, or walnuts after mixing the batter. These add-ins won’t affect the baking time but will enhance the flavor and texture.
How long do these bars stay fresh? These healthy gluten-free pumpkin bars stay fresh for 4 days at room temperature or up to 1 week refrigerated. They actually taste better the next day as the flavors meld together!
Conclusion
These healthy gluten-free pumpkin bars prove that you don’t need to sacrifice flavor or texture when baking gluten-free. With their incredibly moist crumb, warm spices, and foolproof 5-step method, they’re destined to become a staple in your fall baking repertoire. Whether you’re serving them at family gatherings, packing them in lunch boxes, or enjoying them with your morning coffee, these bars deliver consistent, delicious results every time.
The beauty of this recipe lies in its simplicity and versatility. You can dress them up with cream cheese frosting for special occasions or enjoy them plain as a healthy snack. The natural sweetness from pumpkin, combined with wholesome gluten-free ingredients, creates a treat that’s both indulgent and nutritious.
Don’t let gluten-free baking intimidate you – these bars are proof that with the right recipe and techniques, you can create bakery-quality desserts at home. So grab your apron, preheat that oven, and get ready to fill your kitchen with the irresistible aroma of autumn spices. Your family and friends will be amazed by these incredible healthy gluten-free pumpkin bars, and you’ll love how easy they are to make!